Garage floor epoxy is a tough, protective coating that can give any concrete surface a clean, professional look while shielding it from oil stains, moisture, and heavy wear. Whether you’re tackling a DIY project in a 1-car garage or hiring a contractor to handle a full epoxy floor coating in your new house, the final cost can swing wildly depending on the square footage, prep work, and type of epoxy you use. This guide walks through everything from how to epoxy a garage floor to understanding the real costs, so you can get the best results and a long-lasting finish that’s worth your time and money.
Quick look:
- Epoxy garage floors provide a durable, stain-resistant surface that protects concrete and enhances appearance.
- Costs range from $1,000 to $15,000, depending on size, condition, materials, and whether it’s a DIY or professional job.
- A step-by-step guide walks through everything from prep to applying epoxy, color flakes, and topcoats.
- Regular cleaning and maintenance can extend an epoxy floor’s lifespan to 10+ years, especially with proper installation.
What is a garage floor epoxy coating?
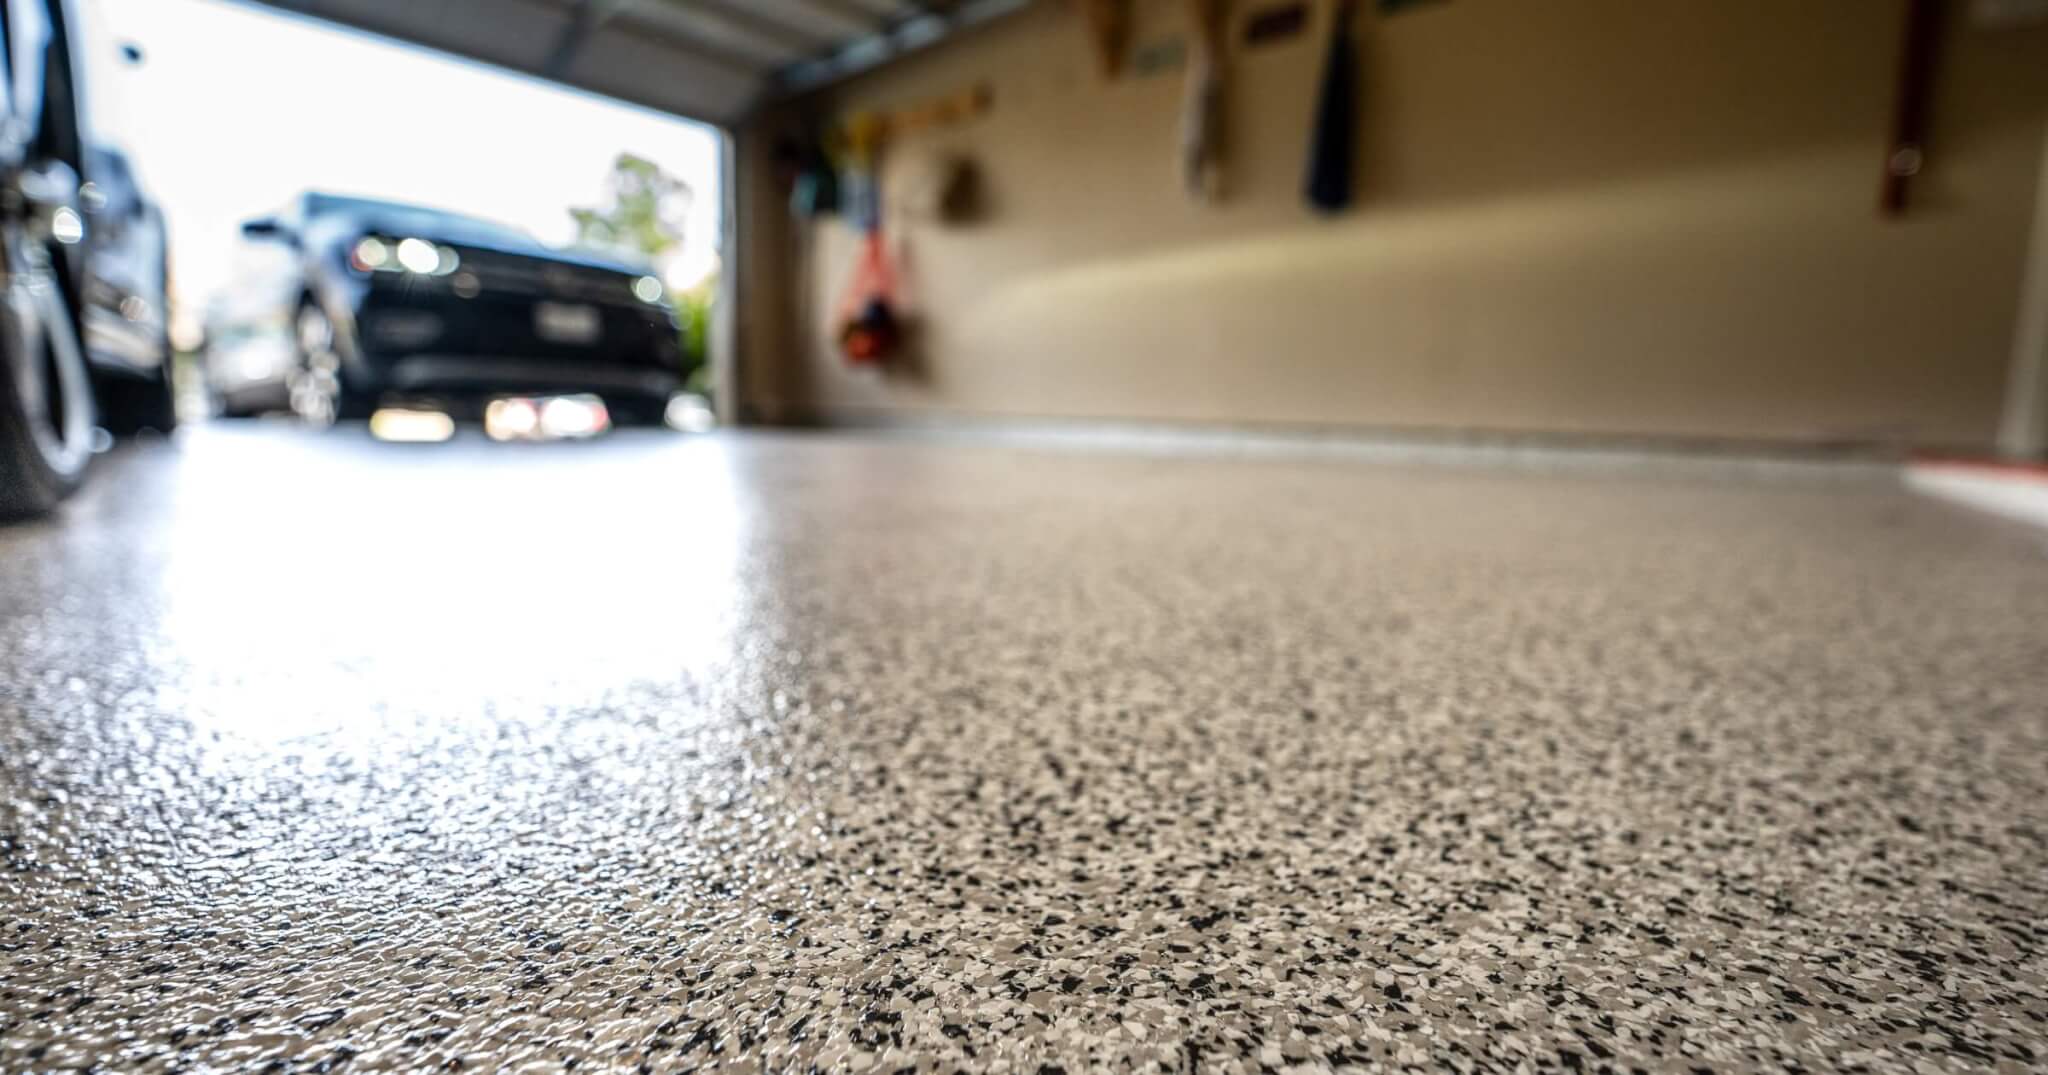
A garage floor epoxy coating is a tough, chemical-resistant finish that bonds directly to bare concrete. It’s not the same as regular paint, this stuff is built to last. Made from a two-part epoxy system (Part A: epoxy resin and Part B: hardener), it creates a super-strong surface once the two components are mixed and applied. When cured, it forms a hard, glossy layer that withstands hot tires, dropped tools, oil stains, and just about anything else your garage throws at it.
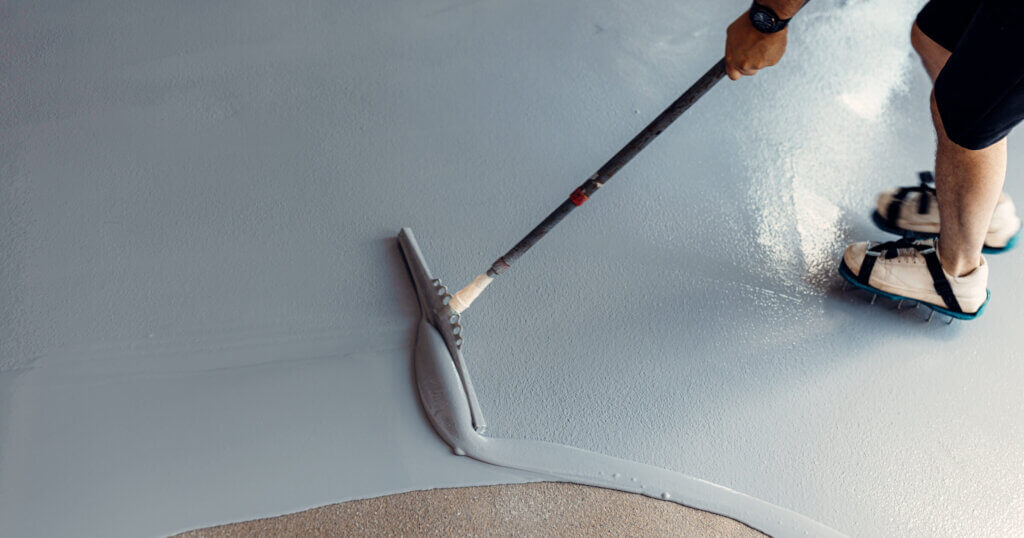
Photo courtesy of Shutterstock.
You’ll find epoxy garage floor coatings in all kinds of places, from standard 1-car garages to busy workshops, warehouses, and even shop floor coatings in commercial spaces. It’s also becoming a great way to upgrade your new garage or give your old floor a facelift with a wide range of colors and finishes, including solid color, color chips, and clear coat options for added durability and style.
Benefits of epoxy garage floors
Installing epoxy for a garage floor is a smart way to protect your concrete surface for the long haul. A good epoxy floor coating guards against oil stains, cracks, moisture damage, and everyday wear and tear from vehicles, tools, and foot traffic. It creates a sealed surface that holds up well in tough conditions and still looks sharp for years to come.
One of the biggest perks is how easy it is to clean. Dust, dirt, and spills sit on the surface instead of soaking in, so a quick sweep or mop gets the job done, no scrubbing required. If you’re after a little extra grip or want to customize the look, you can add color flakes or paint chips during the epoxy application for texture and slip resistance.
From a DIY epoxy garage makeover to a full garage epoxy floor installed by a pro, this coating delivers a lasting finish that’s both functional and great-looking.
How much does it cost to epoxy a garage floor?
When it comes to epoxy garage floor cost, the price can vary a lot depending on how big the space is and how much prep work is needed. On average, expect to spend anywhere from $1,000 to $15,000 USD (or $1,500 to $20,000 CAD) depending on the condition of the concrete garage floor, the type of epoxy coating you choose, and whether you go the DIY route or hire a pro.
Here’s what can affect the total price:
- Square footage: A larger garage floor means more material, more labor, and higher costs per square foot.
- Floor condition: If your concrete needs a lot of surface prep, patching, or grinding, that adds to the total.
- Number of coats and finishes: Using a primer, second coat, clear top coat, or decorative color flakes will increase the cost.
- DIY vs. professional installation: Doing it yourself with a garage floor epoxy kit can save money, but requires more time and effort. Hiring a contractor costs more, but you get pro-level results.
For a typical 2-car garage, the national average is between $2,500 and $3,500 USD. If you’re working with a new concrete floor or want a high-end finish like aliphatic urethane or high solids epoxy, costs can climb quickly, but so can the lifespan and appearance of your floor.
How to epoxy a garage floor (step-by-step)
If you’re planning to tackle a DIY epoxy garage floor, proper preparation is everything. Cutting corners here can lead to peeling, bubbling, or a floor that just doesn’t last. Here’s how to do it right from the first step to the final clear top coat:
1. Clear out the garage and clean the floor thoroughly. Start by removing everything from the space. Use a floor scraper to get rid of any loose debris, then clean the concrete floor with a pressure washer or stiff-bristle brush and degreaser. This helps eliminate oil stains, dirt, or any previous coating that could affect adhesion.
2. Etch or grind the concrete for better adhesion. To get that epoxy to stick, you’ll need to open up the pores of the concrete surface. You can do this with a muriatic acid solution (etching) or a concrete grinder. This surface prep step helps ensure better adhesion and a longer-lasting finish.
3. Patch cracks and fill surface imperfections. Inspect the floor for cracks or holes and use epoxy fillers or patch kits to repair them. A smooth, even base is important for applying epoxy floor paint with clean results.
4. Apply epoxy primer (if needed). Some floors benefit from an epoxy primer, especially if you’re dealing with new concrete floors or high-moisture areas. The primer soaks in and helps the epoxy floor coating bond to the surface.
5. Mix the resin and hardener, then apply the first coat. Using a drill mixer, combine Part A (epoxy resin) and Part B (hardener) according to the manufacturer’s instructions. Work in small sections with a paint roller and a 3-inch paint brush for edges and stem walls. Thin coats are best; don’t try to cover everything in one go.
6. Add decorative flakes (optional). If you want a textured look or added grip, toss color chips or paint flakes into the wet epoxy while it’s still tacky. You can find a wide variety of options at Home Depot or other local stores.
7. Apply the clear topcoat. Once your base coat cures, apply a clear coat or epoxy top coat to seal in the flakes and protect the finish. This step adds durability and creates that glossy, professional look.
8. Let it cure. Cure time can range from 24 to 72 hours, depending on the type of epoxy, temperature, and humidity. Keep the garage door open for ventilation and avoid driving on it until it’s fully cured.
Pro tip: Don’t forget safety gear!
Wear protective gear like a respirator, gloves, and goggles during every step of the epoxy application process. Epoxy fumes and chemicals aren’t something you want to breathe in or get on your skin.
DIY vs professional epoxy garage floor installation
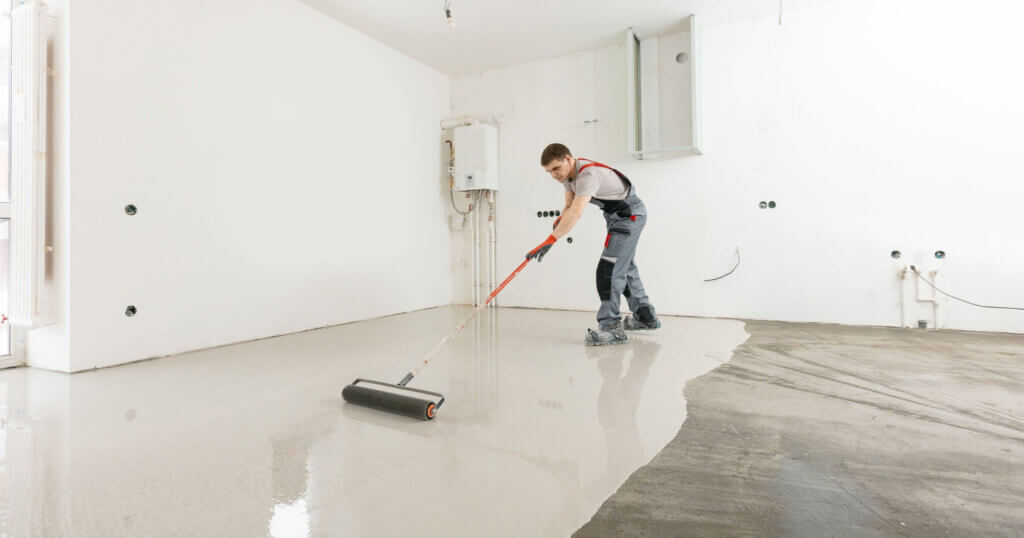
Photo courtesy of Shutterstock.
Trying to decide if you should take on a DIY epoxy garage floor or call in the pros? Both options have their ups and downs, and the right choice depends on your experience level, time, and how flawless you want that epoxy garage floor to look.
DIY pros:
- Lower epoxy garage floor cost, especially if you’re using a garage floor epoxy kit from a Home Improvement store like Home Depot
- Complete control over timing, pace, and design
- That personal satisfaction of completing a hands-on DIY project
DIY cons:
- It’s a lot of work; between surface prep, epoxy application, and cleanup, expect a whole weekend or more
- Mistakes like poor adhesion, uneven epoxy paint, or missed moisture content tests can lead to peeling or bubbling later
- Requires proper preparation, tools, and protective gear, and you’ll need to follow the manufacturer’s instructions closely for mixing Part A and Part B
Professional installation pros:
- Contractors have the tools and experience to apply epoxy floor coatings evenly and efficiently
- They’ll handle the tough stuff: moisture test, concrete sealer, epoxy primer, and patching damaged areas
- A smoother, longer-lasting, more polished finish, ideal for high-traffic or shop floor coatings
Professional installation cons:
- More expensive, especially for large garages or premium materials like high solids, epoxy floor paint, or aliphatic urethane finishes
- You may need to work around their schedule, and not all local stores offer pro referrals
When should you hire a pro?
If you’ve got a large garage floor, an old floor with cracks or moisture issues, or no room for error, hiring a pro is often the best way to get a durable, good-looking result. It’s also smart if you’re coating a concrete garage floor in a new house and want that perfect finish the first time around.
How long will an epoxy garage floor last?
A properly installed epoxy garage floor can last anywhere from five to ten years, and sometimes even longer, especially if you add a clear top coat or epoxy top coat for extra protection. These coatings are designed to handle heavy wear, but just like anything else in your garage, they need a little TLC to stay looking good.
Several factors can affect how long your garage floor epoxy holds up:
- Use of topcoat: Adding a clear coat or aliphatic urethane finish protects against scratches, UV damage, and chemicals
- Vehicle traffic: More cars and heavier loads mean more stress on the surface, especially in high-use shop floor coatings or commercial garages
- Moisture or temperature changes: If your concrete surface wasn’t sealed properly or wasn’t dry before installation, moisture content can break down the bond over time
- Surface prep: Floors that skipped steps like etching or using epoxy primer may start to peel or wear down faster
How to extend the life of your epoxy floor coating
- Do a quick moisture test before applying
- Apply in thin coats and follow the manufacturer’s instructions
- Use a high solids epoxy or solvent-based epoxy for best results
- Recoat every 3 to 5 years if needed to refresh the finish
- Keep it clean (we’ll cover how to clean epoxy garage floor next!)
If it’s time for a refresh, plan for a recoat cost that’s around 50% to 70% of your original install, less if you’re doing it yourself, more if you’re working with pros or premium epoxy garage floor coatings.
How to clean an epoxy garage floor to increase its lifespan
Keeping your epoxy garage floor clean doesn’t take much effort, but it does make a big difference when it comes to preserving that good-looking, long-lasting finish. A regular cleaning routine can help prevent dulling, scratching, or damage over time.
Here’s what to do (and what to avoid):
- Use a soft broom, microfiber mop, or stiff-bristle brush for everyday dirt and dust
- For deeper cleaning, use mild soap or a mix of diluted ammonia and water; great for cutting through grime without damaging the epoxy floor coating
- Skip the citrus-based or acidic cleaners; they can break down the top layer and ruin the shine
- Wipe up oil stains, fuel spills, and harsh chemicals right away
- Never use metal shovels, steel wool, or other harsh abrasives; they can scratch even the toughest epoxy flooring
For best results, sweep or dust once a week and give the entire floor a more thorough clean every couple of months, or more often if your garage door stays open frequently or your space sees heavy traffic.
Taking care of your garage floor epoxy coating is a great way to extend its life and get the most out of your investment.
Bottom line
Epoxy garage flooring is one of the most cost-effective ways to upgrade your concrete garage floor with a finish that’s as tough as it is good-looking. Whether you’re diving into a DIY epoxy garage project or hiring a pro, the key to a long-lasting result comes down to proper prep, the right epoxy floor kit, and regular maintenance. From protecting against oil stains to adding that sleek, showroom shine, it’s a smart investment for any home improvement plan.
Want more how-to content like this? Subscribe to our newsletter for updates straight to your inbox.


1 comment